Hi Welcome to My How To Guide to fitting Fibreglass Bubble arches. Before I start I need to point out that I am not a professional at this I am not a panel beater or a mechanic. This is to show how I did it and is definitely NOT the professional way. Some of you may have differing views as how I am doing it and if you know better please let me know and I may take your advise on my next project.
1 To start I have removed both guards from the car. This is for 2 reasons 1 to allow easy access to some of the rust under the guards
2 I am changing the guards to Bolt On this is to allow easy access to the suspension and it will allow me to remove the guards to clean out the underside if I take it on a gravel event.
So First stage
The tools and parts
The guards
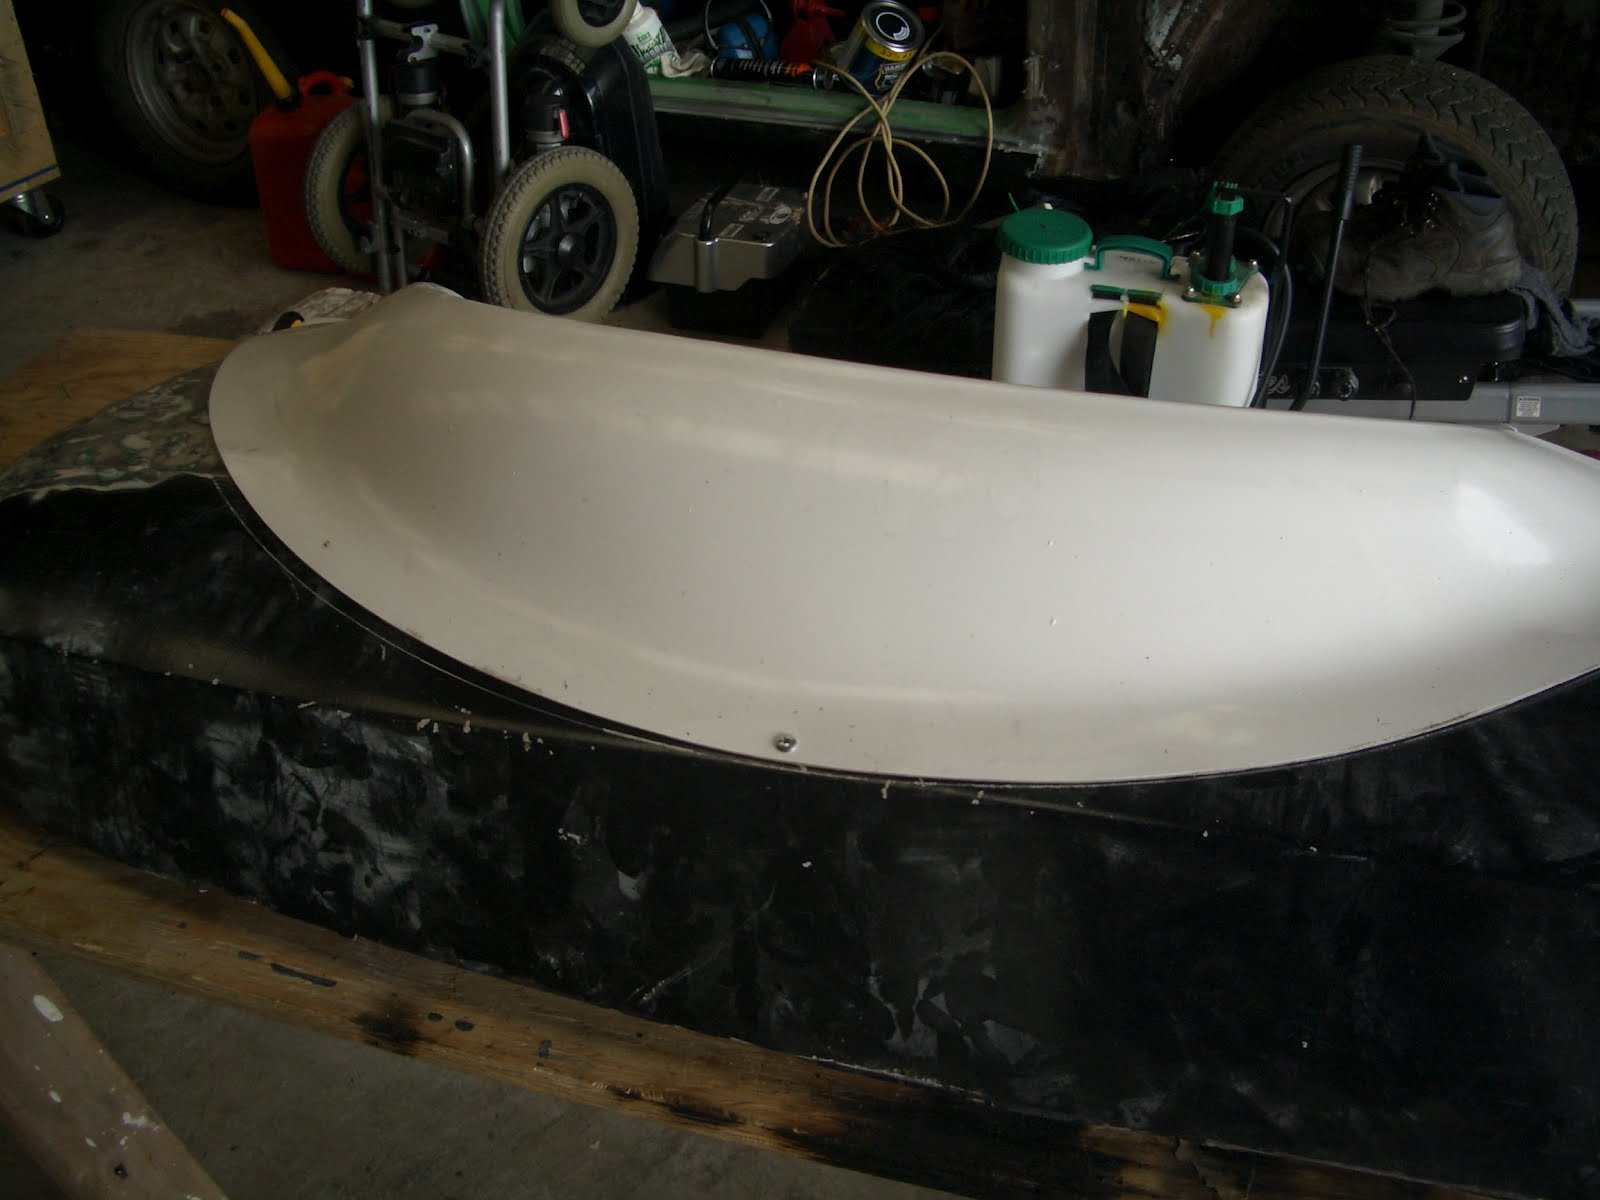
The arches
Drill both Power and battery are handy 1 for drilling and the other for countersinking and screwing (these will be explained as I go.
One tool that I have found very handy is a Nibbler or in my case a versicutter. ( if you watch the infomercials on TV you would have seen them)
Pop Rivets (4mm x 10mm counter sunk heads)
Screws
Small washers with a 4 mm hole
Urethane (glue)
A scribe or a good marker pen
Now for the arches I got mine from a local company off our local trading website. Their website is www.msfibreglass.co.nz
They cost about $450.00 nzd + shipping
These guys have been around for a long time and the products seem to be excellent.
The first stage is to test fit the arches I use tape to hold them in place and once I am happy with the fit I then tack them in place with a few screws.
Once I am happy I use a scribe (on dark colours) or a marker ( on light colours) around the outside of the arch
Remove the arches and put to one side
With the nibbler cut out about 20 mm inside the scribe line (the arch will be fitted on the inside of the guard) this will give you enough steel to rivet the arch to
At this stage I proceeded to clean all the paint, bog and rust off the guards and painted both sides with Hammerite primer Before proceeding.
You can see the scribe line easily in this picture (taken after I cut the excess out) the excess can now be discarded. One issue I had was this guard was difficult to cut with the nibbler because of the amount of filler that was used the nibbler could not fit the steel and filler through its jaws so I had to grind away the filler before I could cut it out.
Once you are at this stage you can test fit the arch. I fitted the screw at the top of the guard first from the underside. Then once I was happy with how it fitted proceeded to fit screws around the rest of the arch. Check how the arch fits to the guard and make changes as required. In my case on this guard I cut out the bumper bolt hole and I found a section that needed a small amount of work with the hammer and dolly to make a smooth fit.
This is the fit at the rear lower corner You can see the extra screw hole from when it was fitted to the outside of the guard.
This is the reason I removed the bolt hole. The arches have a location for the hole and the steel around here is quite tough to get a good fit. By removing the shape you get a easier piece to flatten out into a good finish.
I have used long screws here so that you can line up the screw holes and then pull the arch into place rather than try to line up the holes with shorter screws and need to slide the arch on the urethane and make a mess.
Now this is when you need to move reasonably quickly.
Put a good bead of urethane all the way around the guard. Then starting at the top screw the arch into place (this is where the battery drill with a screw driver bit is handy) Screw from the underside. I put the guard on a couple of blocks of wood so that the arch was not sitting on the bench.
Turn the guard over and again starting from the top down drill the holes for the pop rivets with the power drill and then with the battery drill lightly countersink the hole. I drill 4 or 5 holes at a time about 75 - 100 mm apart.
Insert the pop rivet and on the inside fit a washer to the rivet to prevent it from pulling straight through the fiberglass.
Continue all the way around the arch till finished. When the riveting is done check for the fit and as required fit more rivets in between. You will find this is needed more on bends that flats.
You can see the washers on the underside of the rivet here
The top of the rivets you can also see where the guard doesn’t quite fit the arch another rivet here works wonders
The finished job
And the new guard sitting in place.
From this stage it is quite easy all you need to do is clean off any excess urethane ( use a good boxcutter when the urethane is dry). Give the guard a light sand and proceed to finish it off with filler. Once I am completely happy with the finish I will get the guard covered with a fiberglass skin to prevent the filler from cracking.
Hope this is useful. However if I had a choice I would use steel arches but have gone this way because of cost.
Peter